Continuing from where we last left off, here's a really cool tip that the Gute taught me.
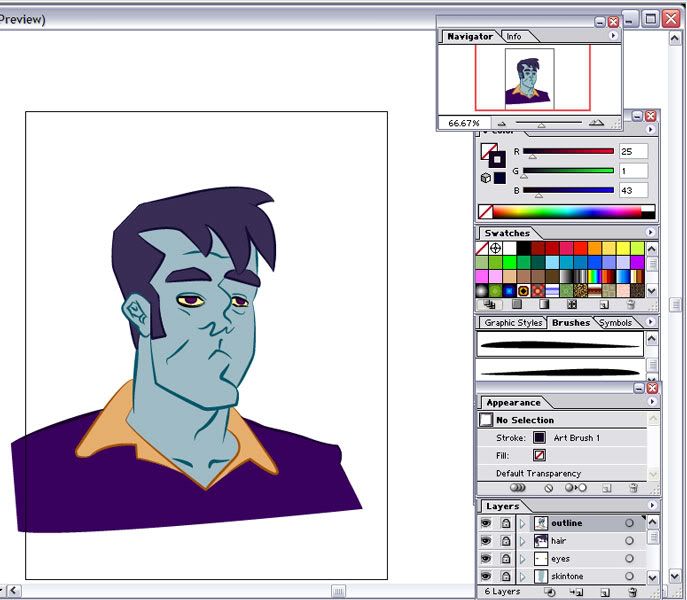
You can select a stroke, goto Object>Path>Outline Stroke and this will turn your stroke into a fill.
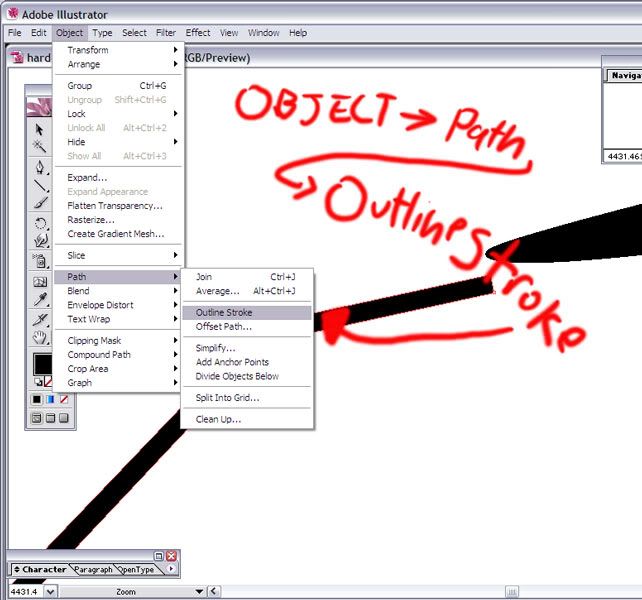
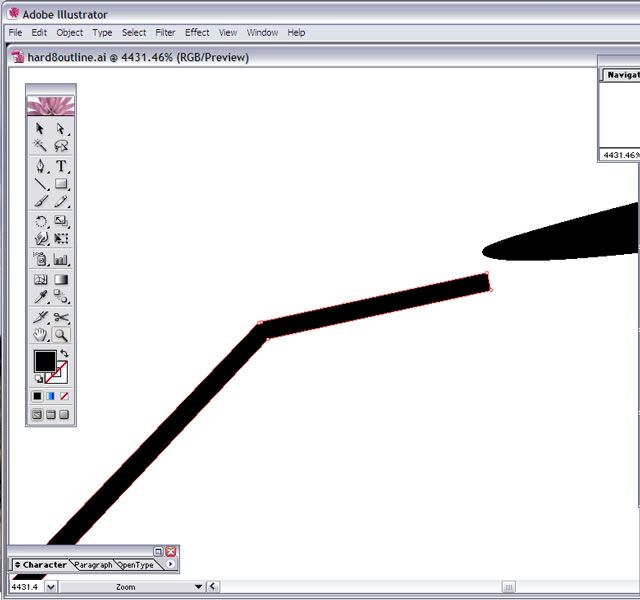
By turning you stroke into a fill you can refine it with much more precision.
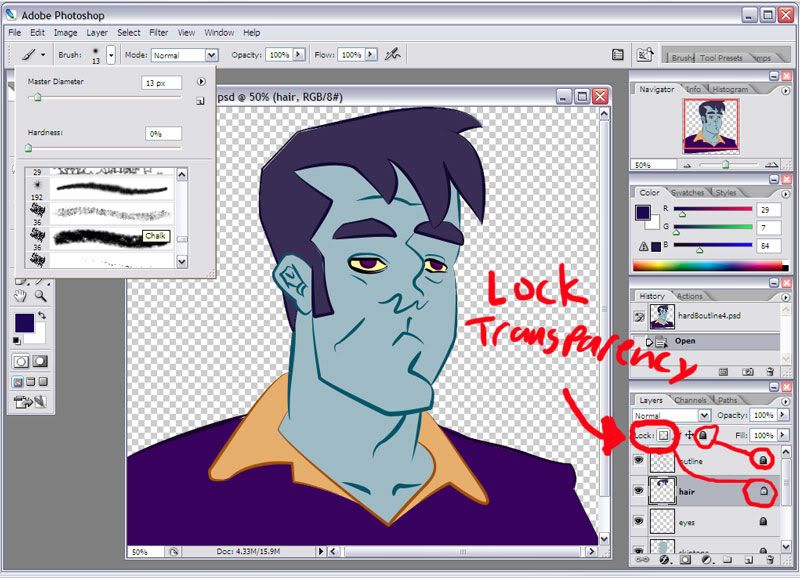
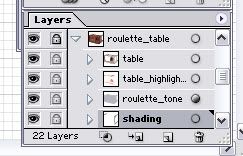
Once you have all you outline work to your liking, lock the outline layer and create a new layer under it.
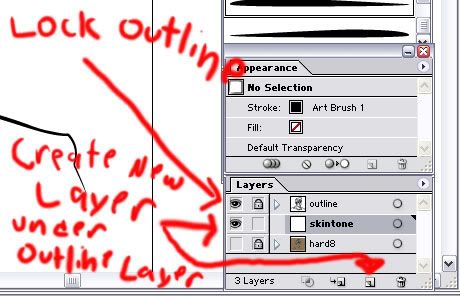
I create a new layer for each major color mass I create, such as skintone and hair color, and I lock each layer I'm not currently working on so I don't accidentally put 2 color masses on the same layer.
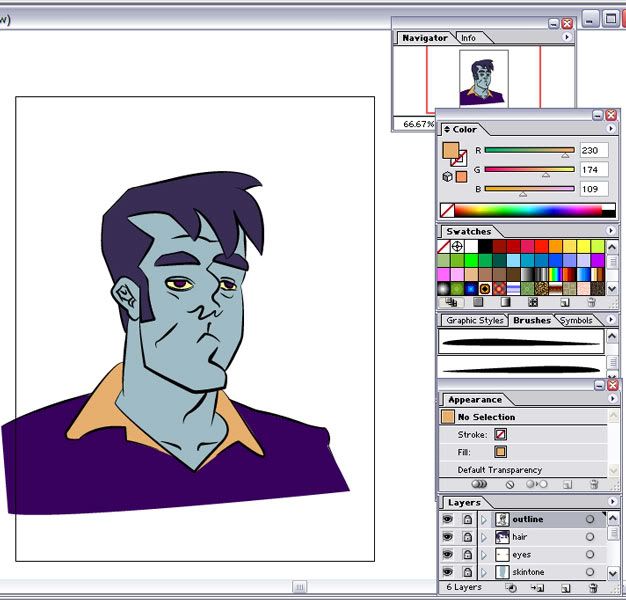
Once I've made color masses I'm happy with I unlock my outline layer and I color my outline according to the color masses I just made. If you just want black outlines then skip this step.
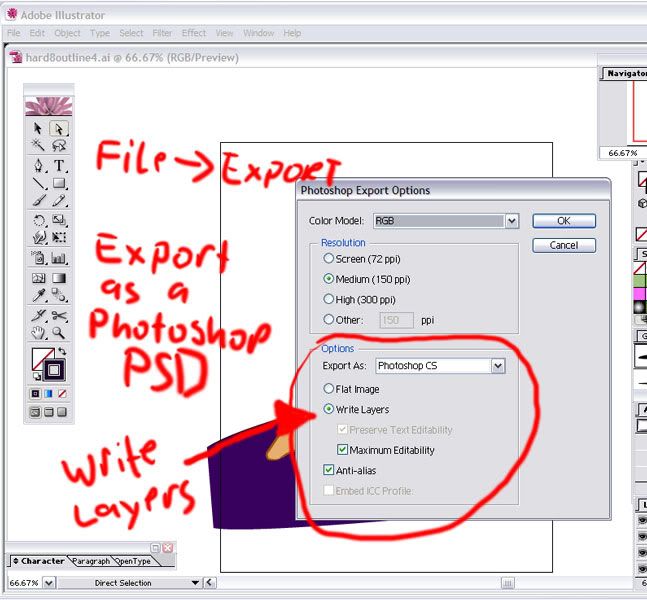
At this point you no longer need your sketch layer so delete it by selecting that layer and clicking on the little trashcan towards the bottom right of the little layers window. Now you're ready to take your work into Photoshop. Goto File>Export and choose the file type photo shop PSD. Once you name your file and hit OK you'll receive a dialogue box, make sure "Write Layers" and "anti-alias" are selected. Now just hit OK.
Now make one last save in Illustrator and then close out of the program. Once Iluustrator has completely shut down, open up Photoshop. When Photoshop has finished loading, open up the PSD file you just created. You'll notice when your file opens that all the color mass layers and outline layer show up exactly how you created them in Illustrator. Isn't that just a jimdandy!?
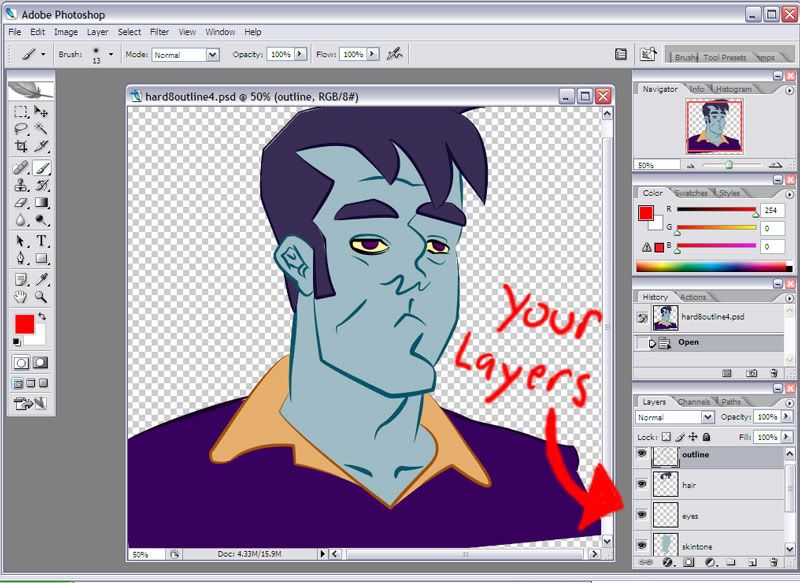
Before you start painting, Lock all the layers except for the one you plan to work on. You do that by clicking on the layer and then clicking on the little lock symbol near the top left of the Layers window. On the color mass layer you wish to work on, only lock the transparency. You do this by clicking on that layer and click the small white and grey checkerboard image near the top left of the Layers window. By locking the transparency you will only paint on the color mass and won't have to worry about accidentally painting outside of it.
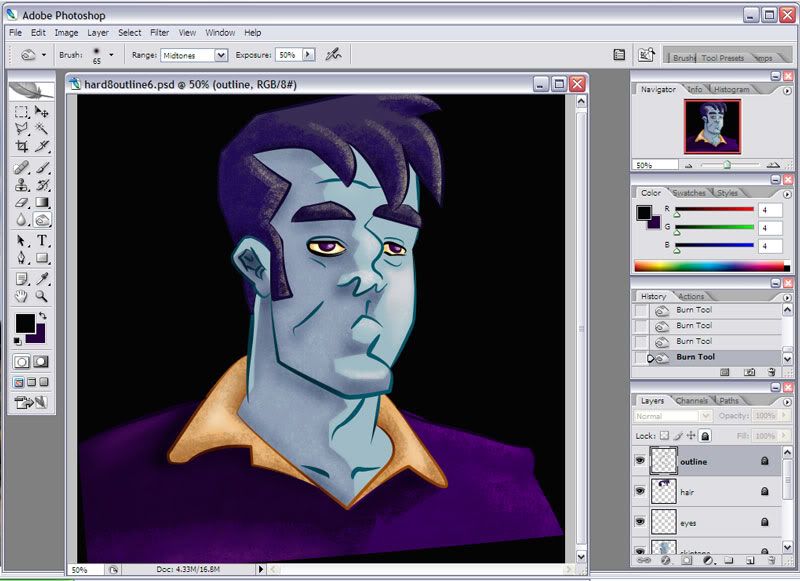
Photoshop allows you the use of many differant tools and brushes. I like using textured brushes to add texture to my image which is difficult to acheive in just illustrator. You can just directly paint on your color mass or you can use the pen or lasso tool to select areas for more control or to give a cel shaded look.
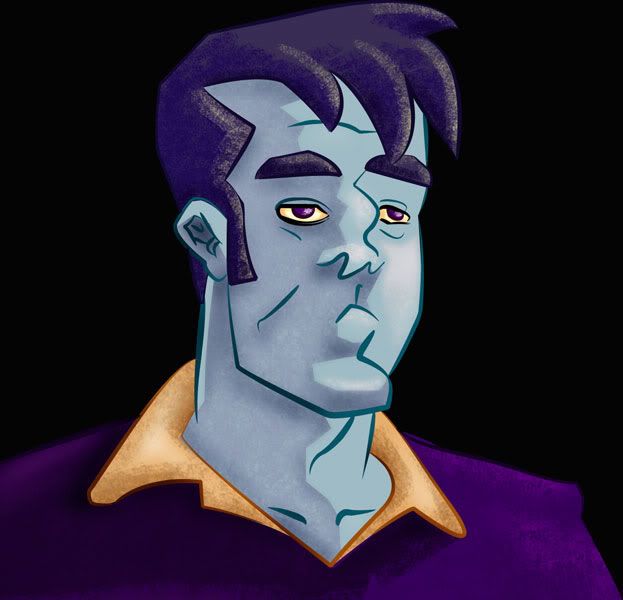
But painting technique is all personal preferance from here on out so the rest is up to you. Pluss I'm a pretty awful painter and don't really know what I'm doing. Just remember to "Save As" often and with a different name now and then. I hope this tutorial helped!
Odds n Ends:
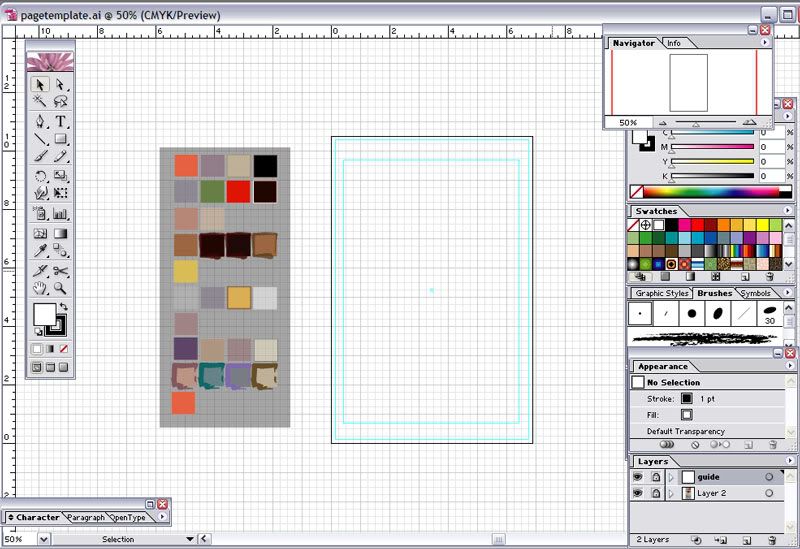
here's a couple quicktips. Now that I have all my colors and brushes for everything set, I made myself a template to use for each page that is premeasured to size and with guides according to the size chart the Big Toon sent. I also made a color swatch table with all my colors and brushes for easy access.
Another thing I like to do, I once I build an object, I collect all the layers used to build that layer and collect them all into a single layer. That way it is easy to move and resize and select everything at once with out dealing with seperate layers, but the individual layers are still available if you only need to change something small.

4 comments:
sweet man...perfect timing! i plan on finishing one i just did with this technique.
It takes a long ass time, but comes out clean. I take it you get faster with time?
Anywho, thanks again for posting these man...super helpful.
Well, I did save some time while working on my Hard 8 comic by skipping the photoshop part completely. But the main reason for doing so is my computer couldn't handle it. Some pages had over 70 layers in illustrator and my comp just couldn't convert to PSD. So to compensate i used alot of the built in art brushes that come with illo just to make everything a lil more rough around the edges. Some people might think this tacky, but I felt without doing so, everything just looked too clean. It's a give and take. You use illo for the cleanliness, but you make it too clean and it just looks flat and sterile. But I made my decision and I'm sticking with it.
Egads man! I'll need to save this info for later! Thanks!!!
Thanks!! Though your artwork is already so frikkin amazing, I don't think my silly tutorials would have much to offer.
Post a Comment